Showing posts with label Halloween. Show all posts

Wednesday, October 22, 2014

A Twist On The Traditional Trick-or-treat Favor Bags


Last time I did a Halloween trick-or-treat favor bag was back in 2012. I used newspapers to create the bag and decorated them with Halloween stamps. This DIY is maybe even simpler with most (if not all) of the supplies already in your home. 


Things you need: Plastic Easter eggs in shades of orange for the "pumpkins", permanent markers, and lots and lots of candy!


Start by drawing different "jack-o-lantern" faces on the front sides of the plastic eggs (hinges to the back) with permanent markers. If you're having trouble coming up with different faces try searching jack-o-lanterns online. Next let them sit to dry for a few minuets so that the faces don't smear. 


And last but certainly not least stuff the eggs full with your favorite candies to give to your kids, grandkids, or to toss into trick-or-treaters bags for Halloween. So easy, right?

Friday, November 2, 2012

Friday Inspiration: Pumpkins & Candy

{Image of finished pumpkins as promised. A for the Avengers and Hello Kitty in a cape}

I hope everyone was able to enjoy a little bit of Halloween fun. My grandkids turned out to be the only trick-or-treaters I had all night. So now not only am I stuck with a few bags of candy they came back after going out to all our neighbors houses with 18 pounds of candy together! I think this is the most candy I've ever seen in my house and I'm thankful their parents took it all home with them. 


"Once in a young lifetime one should be allowed to have as much sweetness as one can possibly want and hold."
-Judith Olney 

Wednesday, October 31, 2012

Happy Halloween!

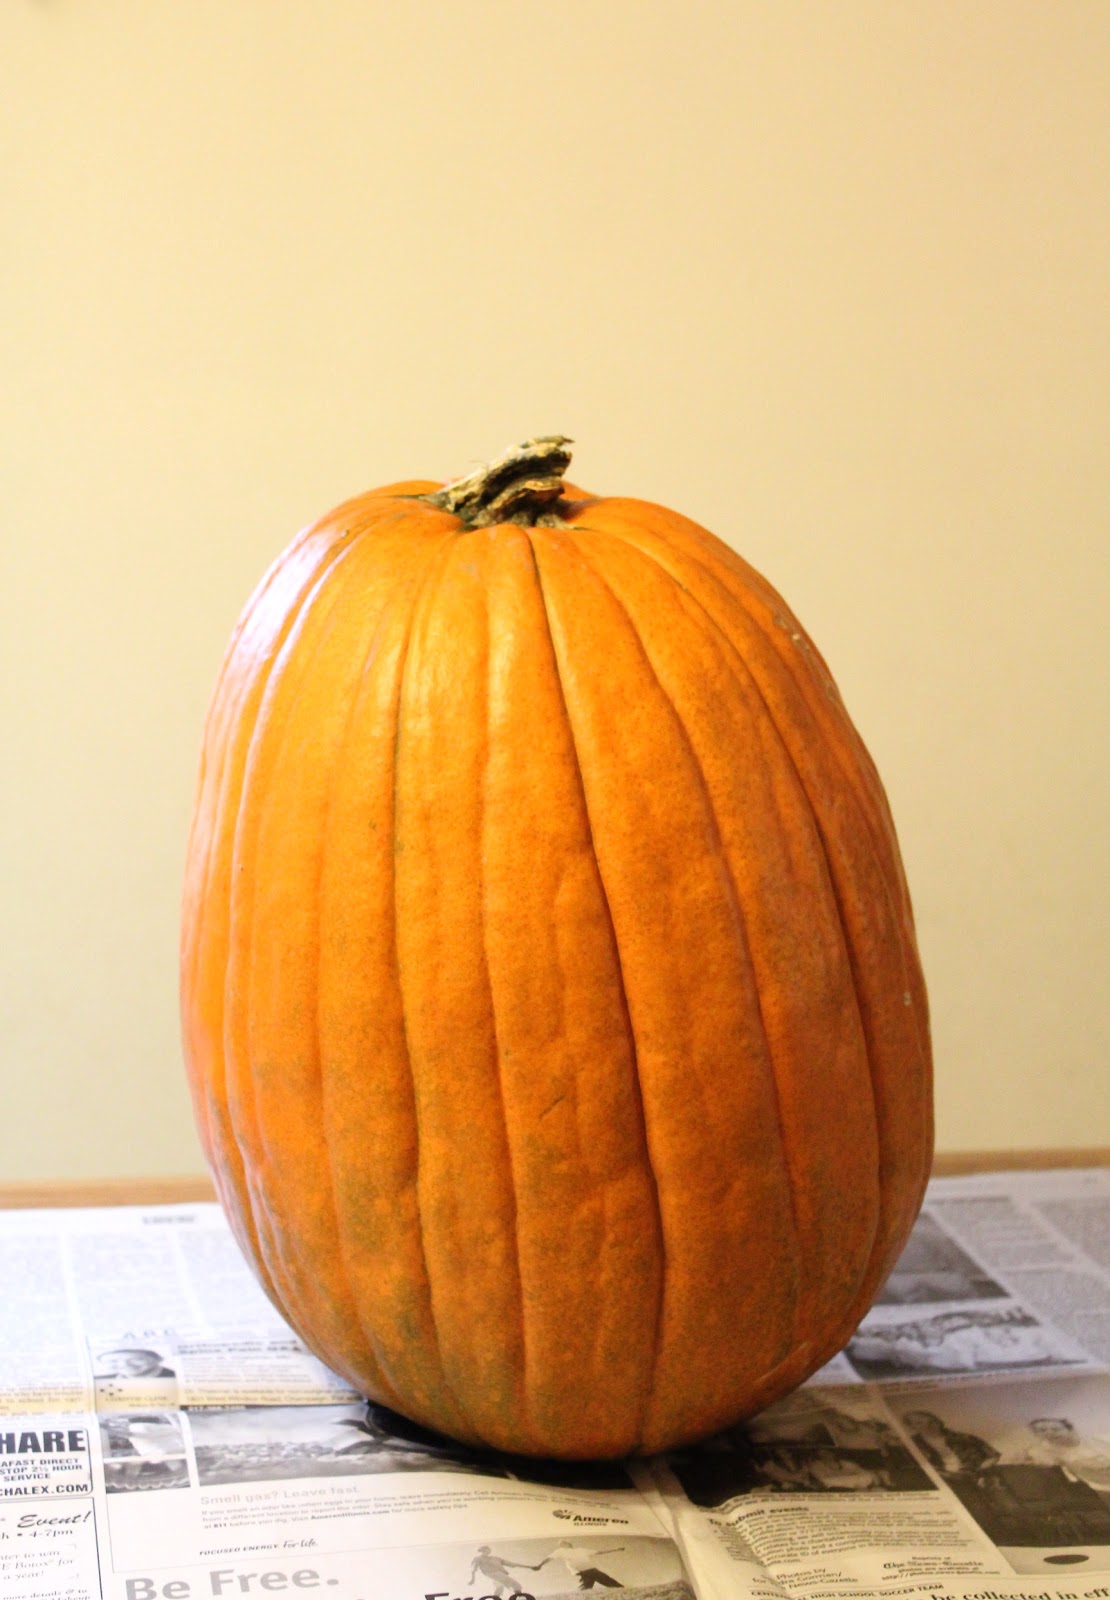
Halloween is such a fun time of the year to spend with little ones. My grandchildren each picked out a pumpkin this year and last night (just in time) I finally got around to helping them carve them. They each found a carving pattern online that they wanted to try and recreate. And might I say they both were very ambitious patterns but somehow we got them to turn out pretty close to the original. Pictures of the finished products soon to follow.
 {I saw online that opening a pack of silica gel and putting it in the pumpkins would keep them from molding}
{My daughter working hard on my granddaughter's Hello Kitty pattern. I think it turned out pretty well considering we didn't have the proper tools. I will have to invest in pumpkin carving knives for next year}

Monday, October 22, 2012

Halloween Candy

While getting ready for Halloween I thought I would pick up a few of my favorite candies (in black & orange wrappers) to start enjoying now. Living out side of town we don't get many (if any) trick-or-treaters so I thought I should at least pick up a few of my favorite just in case I get stuck with all the candy. What are some of your favorites?  

{Mary Jane Peanut Butter Kisses}
{Love the way the chocolate on Reese's holiday candies is smooth all the way around}
{Heath milk chocolate english toffee bar}

Wednesday, October 17, 2012

Paper Lanterns

I wanted to add more outdoor lighting to my Halloween decorations besides just the traditional Jack-o-lantern. While searching the internet I came across this article for how to make your own paper lanterns. They are so cute and easy to make perfect for any out door gathering. They came in quite handy for my party over the weekend and I just love seeing them glow in my tree where the leaves are just turning red. For my cut outs I used a few of my Halloween stamps but I also had some stencils that I found worked even better. I filled my lanterns with a little bit of sand to keep them from blowing away and they worked just perfectly.

Wednesday, October 10, 2012

Homemade Caramel Sauce

I just love the mixture of caramel and apples together. I bought some large juicy apples from the grocery store and thought they would make the best carmel apples. Since there was so much carmel left over (I only made 6) I saved some for dipping apple slices using smaller apples left over from our tree (yes we still have a few). I also poured some into a pie tin and refrigerated it. After its cooled I will slice into squares to eat as candy.
This recipe make the most delicious caramel sauce (I could eat it by the spoon full) and it comes from the Better Homes and Gardens Cook Book.

Caramel Apples

Ingredients:

14 small tart apples
14 popsicle sticks
1/2 cup butter or margarine
2 cups packed brown sugar
1 cup light corn syrup
1 14 oz can (1/2 C) sweetened condensed milk
1 teaspoon vanilla

Directions: 

-Wash and dry apples; remove stems. Insert a wooden skewer into the stem of each apple.
-In a heavy 3 quart saucepan melt butter.
-Stir in sugar, corn syrup, and dash salt; mix well.
-Bring to boiling over medium heat, stirring constantly.
-Stir in condensed milk.
-Cook, stirring constantly, to 245 degrees for 12 to 15 minuets (mixture should boil gently over entire surface)
-Remove from heat; add vanilla.
-Dip each apple into carmel mixture; turn to coat.
-Set on a buttered baking sheet; chill

Makes 14 coated apples

Friday, October 5, 2012

Friday Inspiration: Holiday Manicure

{Wet N Wild black nail polish, Martha Stewart fluorescent black loose glitter}

Get into the spirit of Halloween (or fall) with a festive manicure. I followed this tutorial for a glitter accent nail. I love having an accent nail on ether my index fingers, ring fingers, or both my index fingers and thumbs. 
I did however find that the glitter chipped off quickly but it was very easy to touch up and add more. I also would recommend painting on a couple of clear coats over the glitter to keep it from (coming off) snagging on your clothing. I think I might try out a black/orange glitter combination to pass out candy on Halloween.
My next DIY manicure will probably be something more fall inspired in red or orange (now that the trees are changing color here) with just a hint of glitter on the tips of my ring fingers. 

Wednesday, October 3, 2012

DIY Trick or Treat Bags

I am really enjoying all the vintage black, white, and craft decor I have seen recently to incorporate into your home for Halloween in a very stylish way as if it had been there all along. I came across this image and decided to make my own newspaper goody bags with that same feel.

You will need: 

- Old newspapers
- scissors or a rotary knife
- Ruler
- Stapler or tape
- Stamps
- Ink pad

  Start by opening up a sheet of the newspaper and cut it in half along the spine.
 Next fold the newspaper in half the long way and cut again along the crease.
Now you will fold each of your two pieces in half the short way (bringing the bottom and lining it up with the top) cut again on the crease. You should now have four equal pieces.
Repeat with the other half of the newspaper depending on how many treat bags you would like to make. You will get four treat bags per page.
Taking one of the four halves bring the bottom almost all the way to the top, leaving about a 1/2 inch. Make a crease in the paper. Try and choose a side without any color to be facing up. This will be the front of your bag.
Next turn the newspaper over and fold each open side about a 1/2 inch. Leaving the top open.
Turning your newspaper back over, staple the folded sides together. I did two staples per side.
Now you are ready to decorate your bags. Use stamps, glitter, markers whatever you can think of. I tried not to press my stamps too hard to give them a faded more eery look.